1- Start a new file with these settings.
2- Reset the colors with the D key.
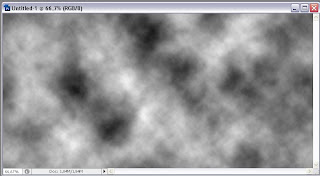
3- Go to FILTER>RENDER>CLOUDS.
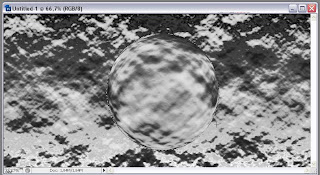
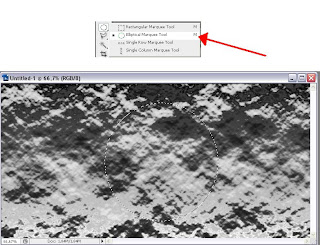 6-Go to FILTER>DISORT>SPHERIZE, amount: 100% and mode: normal.
7-Click CTRL+F to reapply the same effect. (So the spherize effect will be applied twice).
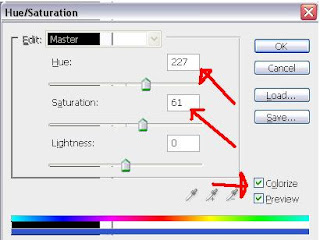
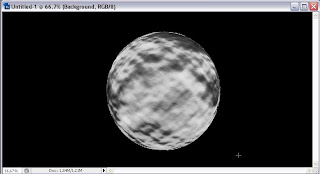 11-Select the "Layer 1" and go to IMAGE>ADJUSTMENT>HUE/SATURATION or simply click CTRL+U and add these settings.
12- And your planet turned to blue right?
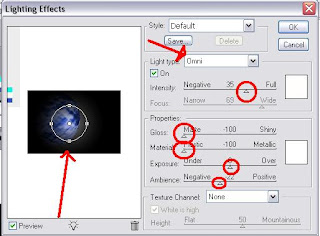 14-Click CTRL+F to reapply the same effect. (So the lighting effect will be applied twice).
15-And here is our planet a bit dark at the moment.
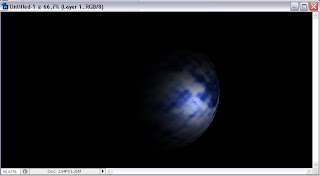
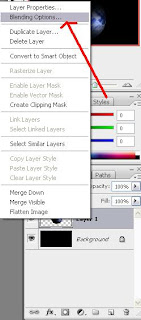
16-Click with your right mouse button on "Layer 1" and go to Blending Options and add this settings on Outer Glow and Inner Glow.
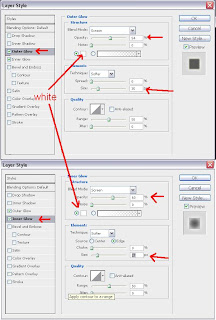 17-Move the "Layer 1" with the move tool (Pres V to activate it) and place the planet on the left at the bottom.
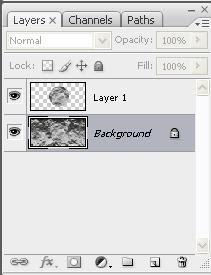
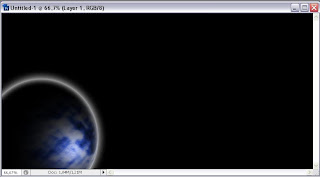 18-Select the "Background" layer and go to FILTER>NOISE>ADD NOISE (Amount: 9,51,Uniform and check the Monochromatic box.
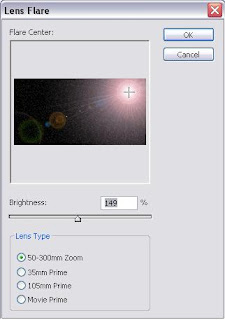
19-Go to FILTER>RENDER>LENS FLARE and do exactly like this.




0 comments:
Post a Comment