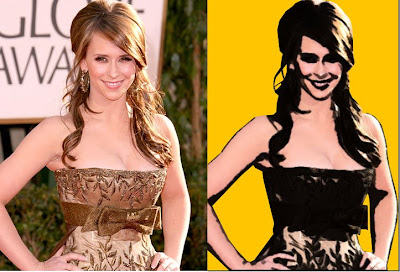
1- Start the Photoshop and open the picture you want to work on (Ctrl-O to open your documents)
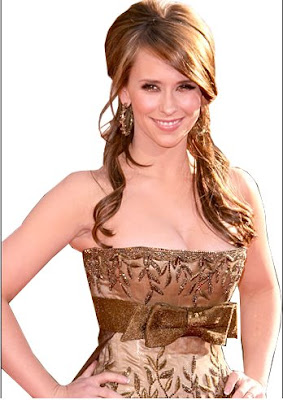
2- Let's duplicate the current layer so we can apply the effect without affecting the main layer.
(MENU>LAYER>DUPLICATE LAYER)

3- Let's start drawing the picture so go to IMAGE > ADJUSTMENTS > THRESHOLD and configure it the way you want it. Here on this tutorial I used 127.

2- Let's duplicate the current layer so we can apply the effect without affecting the main layer.
(MENU>LAYER>DUPLICATE LAYER)

3- Let's start drawing the picture so go to IMAGE > ADJUSTMENTS > THRESHOLD and configure it the way you want it. Here on this tutorial I used 127.
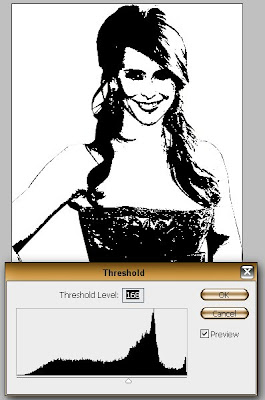
4- If you look closely you can see that the lines are a bit ugly but we will fix that by going to FILTER > STYLIZE > DIFFUSE
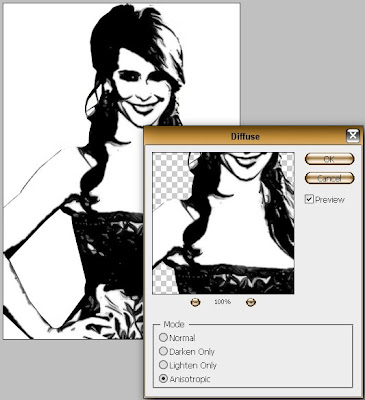
5- Now to increase the quality of the lines go to FILTER > SHARPEN > UNSHARP MASK and configure it the best way that fits your picture, test lots of combinations until you find your favourite.
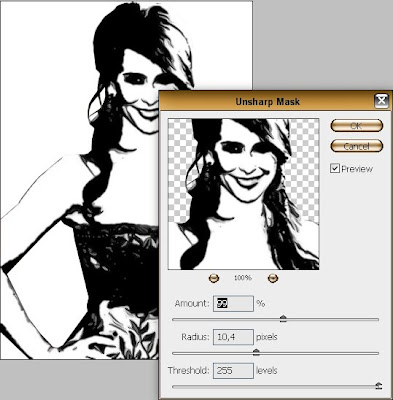
6- To finish let's color it, if you want the basic color way follow the step 7, but if you wish a greater way to color follow step 8.
7- Creat a new layer by clicking Ctrl+SHIFT+N and fill it with the color you wish.
7a- Change the Blending mode to Multiply and see the result:
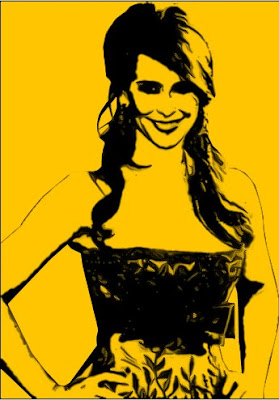
8- To a greater color way you have to know a little bit about layers. So let us go.
8a- Erase the layer that was made on the 7th step and duplicate the original picture layer to apply new effects on it.
8b- Apply this filter by clicking on FILTER > ARTISTIC > SMUDGE STICK
and configure it like shown below
 8c- Now apply this one by clicking FILTER > ARTISTIC > CUTOUT and configure it
like shown below
 Obs: If you have CS or higher version your picture should look like this.
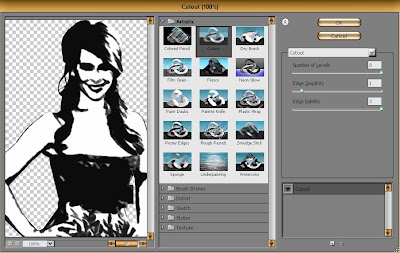
8d- Now you have the original picture, the one you applied
the effects and the vector (the darker one), so change
the blending mode of the vector to Multiply and see how the picture looks like
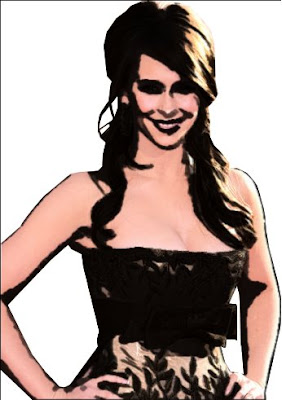
9- Now to finish apply a background color on a layer below the others.
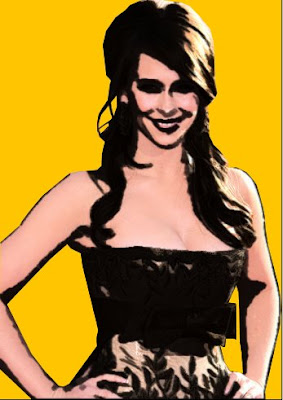 10- And here's the version with some effects applied
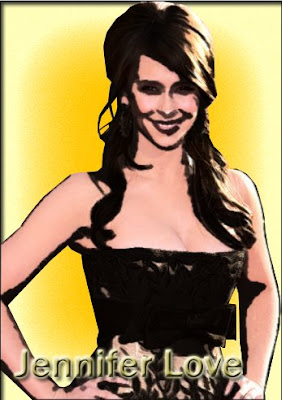
Other results:
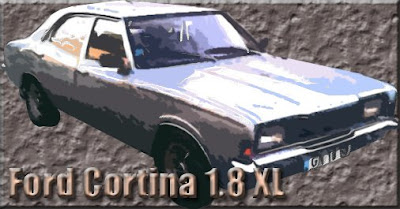
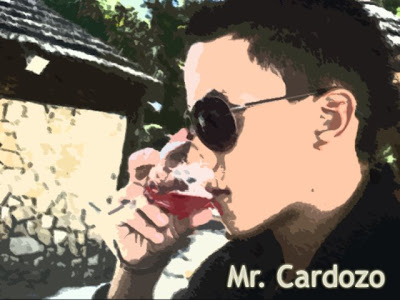

5- Now to increase the quality of the lines go to FILTER > SHARPEN > UNSHARP MASK and configure it the best way that fits your picture, test lots of combinations until you find your favourite.

6- To finish let's color it, if you want the basic color way follow the step 7, but if you wish a greater way to color follow step 8.
7- Creat a new layer by clicking Ctrl+SHIFT+N and fill it with the color you wish.
7a- Change the Blending mode to Multiply and see the result:

8- To a greater color way you have to know a little bit about layers. So let us go.
8a- Erase the layer that was made on the 7th step and duplicate the original picture layer to apply new effects on it.
8b- Apply this filter by clicking on FILTER > ARTISTIC > SMUDGE STICK
and configure it like shown below
 8c- Now apply this one by clicking FILTER > ARTISTIC > CUTOUT and configure it
like shown below
 Obs: If you have CS or higher version your picture should look like this.
8d- Now you have the original picture, the one you applied
the effects and the vector (the darker one), so change
the blending mode of the vector to Multiply and see how the picture looks like

9- Now to finish apply a background color on a layer below the others.
 10- And here's the version with some effects applied
Other results:


2 comments:
I adore Jennifer Love Hewitt. By the way, you did a great job! Love the Photoshop effect! :)
I am a big fan of Jennifer Love Hewitt as well! Thanks for you gentle words.
Post a Comment