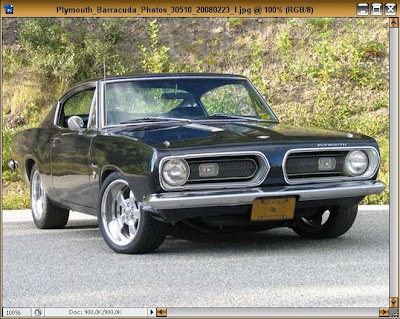
1-Open the picture that wish to work on, we are going to use this car on the tutorial.
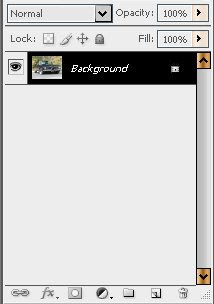
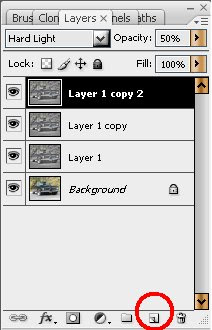
2- Your layer palette should look like the picture below
3- Click
Ctrl+J to duplicate the layer
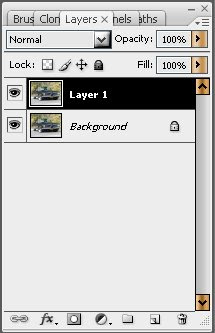
4- Now go to
FILTER>OTHER>HIGH PASS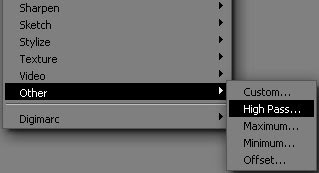
5- Place the value like below
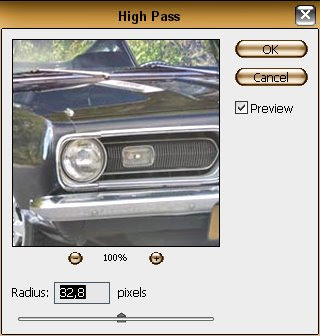
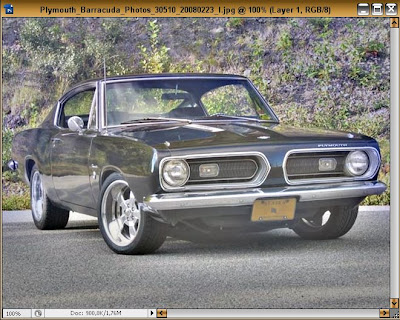
6- Your picture should look like this
7- Change the blending mode to
HARD LIGHT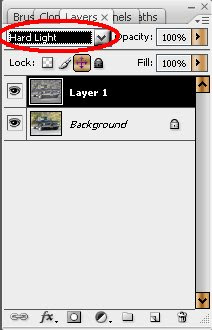
8- Your picture will look like this
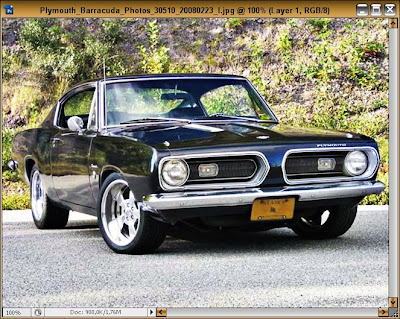
9- Once again duplicate the current layer by pressing
Ctrl+J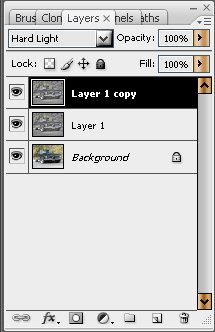
10- Your picture look like this right? :)
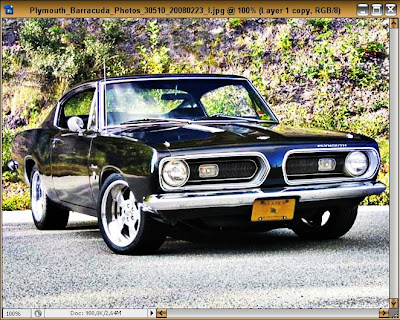
11- Duplicate the layer once again by clicking
Ctrl+J and your layer palette will look like this
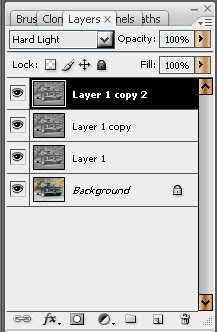
12- Decrease the layer
opacity to 50%
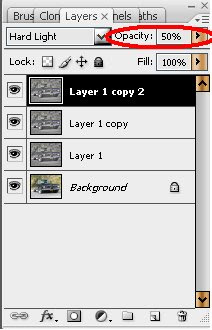
13- Your picture should be like this
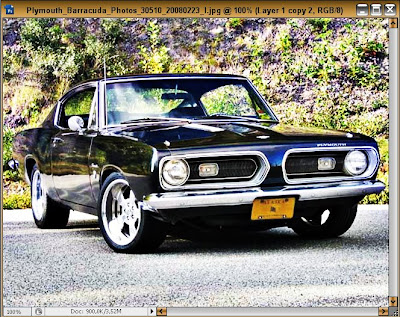
14- Now press
Alt and click on the
ADD NEW LAYER button on layers palette
15- A new box will appear, place there the values like the picture shows and click
OK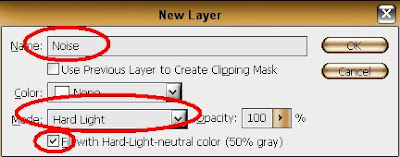
16- Your layer palette will be shown like this
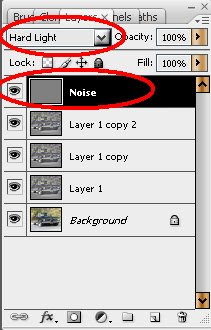
17- Now go to
FILTER>NOISE>ADD NOISE
18- Enter the value exactly as shown below
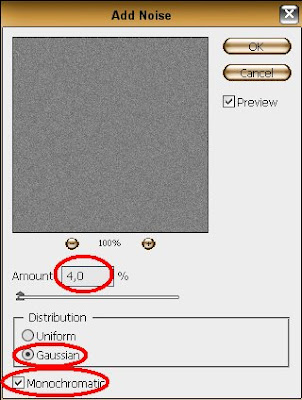
19- Your picture...
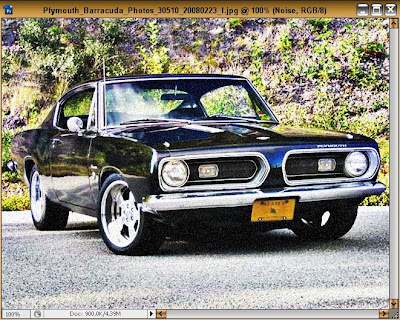
20- Now click on the
NEW ADJUSTMENT LAYER button on the layers palette and choose
Hue/Saturation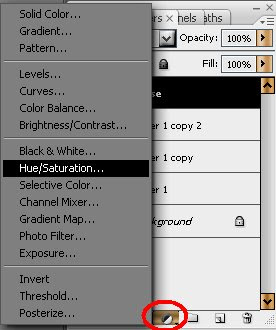
21- Place the values like the picture shows
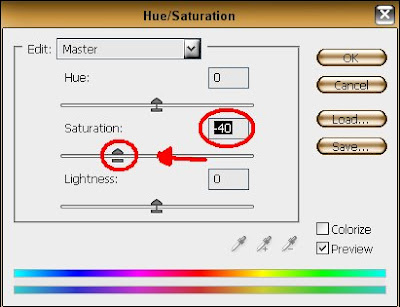
22- And that's it, your picture will be shown like this


0 comments:
Post a Comment