1-Start a new document 600x600
 2-Paint the background with black using the Paint Bucket Tool
  .
.3-Choose the Elliptical Marquee Tool
 , and while holding down SHIFT, draw to make a selection.
 8-Go to IMAGE>ADJUSTMENTS>LEVELS or simply click Ctrl+L to open the levels window. Pull the middle slider right so your image gets more dark parts.
 9-Now open IMAGE>ADJUSTMENTS>COLOR BALANCE or click Ctrl+B. For each Tone Balance (Shadows,Midtones and Highlights) set the color levels to:
 11-Go to FILTER>DISORT>SPHERIZE. Set the amount to 100%. Then do it again, but this time change the amount to 70%. Looks better! Yiya!
 12-Now duplicate this layer by going to LAYER>DUPLICATE LAYER or simply Ctrl+J
13-Click Ctrl+D to deselect or go to SELECT>DESELECT
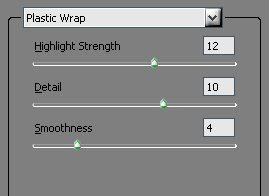
14-On the duplicated layer go to FILTER>ARTISTIC>PLASTIC WRAP and select these values:
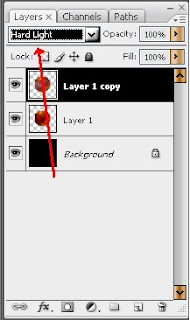 We are done with the Planet, and it looks amazing don't you think?
BUT would you like to add stars?
Then keep reading the tutorial
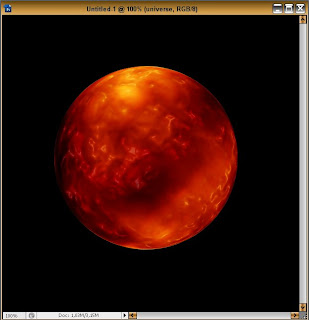 16- To add stars double click on the layer named "BACKGROUND" by default (the first layer), and a window will pop up. Insert the name you wish for that layer. I'll call it "Universe"
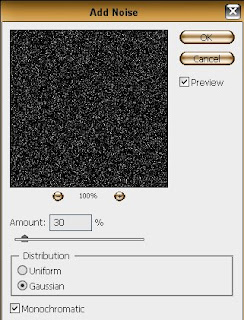
17-Now with the "Universe" layer selected go to FILTER>NOISE>ADD NOISE. Make sure everything's like the picture below
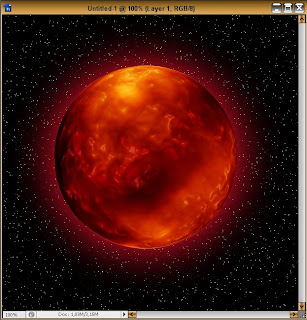
 18-You'll notice that are too much stars and it doesnt cool.So select the paint bucket tool with color black selected and hit the background. FOR EVERY CLICK ON THE BACKGROUND LOTS OF STARS WILL DISAPPEAR. So click until you see as many stars as you wish. Here my result:
 Extra: Here I've added a glow effect around the planet. If you want me to tell you how to add this simply glow just leave a comment, here's my planet with the glow effect :)
Until the next tutorial friends.
Kal El
Kal El




0 comments:
Post a Comment